Keeping your lawn mower stored properly is very important. It helps it last longer and gives you peace of mind. If you just leave your mower on the garage floor, it may get rusty and damaged.
Smart storage solutions can help! By making a dry, special space for your lawn mower, you can keep it in great shape for next spring. Let’s look at some clever ideas to improve How To Store a Lawn Mower in the Garage.
Key Takeaways
- Discover smart solutions to safeguard your lawn mower during off-seasons.
- Learn practical tips for extending the life and performance of your machine.
- Explore various storage options from garage nooks to specialized sheds.
- Get creative with DIY storage solutions to maximize space and accessibility.
- Protect your investment and ensure your lawn mower’s readiness for spring.
Also Read: Can I Recycle Vinyl Backed Garage Doors? 8 Must-Know Tips
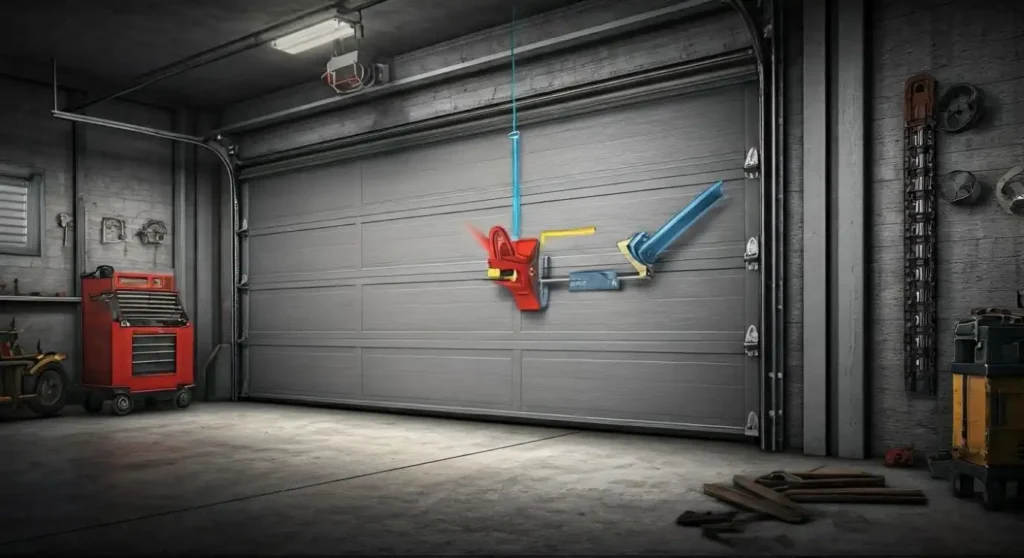
10 Smart Storage Solutions for Your Lawn Mower in the Garage

Storing a big lawn mower doesn’t have to make your garage feel cluttered. With some planning, you can find a special spot for it. This will save valuable floor space and keep your garage floor coating neat. You can choose from ready-made options or try a fun DIY project. There’s something for everyone and every garage size.
Let’s look at some smart storage to store a lawn mower in the garage. From vertical storage that uses wall space to custom-built shelves. we will share the best ways to keep your mower organized and in great shape.
1. Vertical Storage to Maximize Space
When you have limited floor space consider using the walls. Wall-mounted racks and hooks are great lawn mower storage ideas.
They work well for electric or lighter push mowers. By raising your mower off the floor, you can free up space for other things like toolboxes, bikes, or your car.
Make sure to choose strong hooks or racks that can hold the weight of your mower. Fix them safely into wall studs for the best support and safety.
Keep in mind that vertical storage is not typically safe for gas-powered mowers. This is because of potential fuel leaks. Always check your manufacturer’s guidelines for safe storage tips for your specific mower model.
2. Utilizing Wall-Mounted Racks for Easy Access
Maximize your garage storage by using wall-mounted racks. These useful storage options are great for more than just your lawn mower. They hold various gardening tools, keeping everything organized and easy to access.
Wall-mounted racks give a safe spot for your mower. This helps you save valuable floor space. Pick a design that has adjustable arms or cradles to fit different mower sizes and types.
Make sure to install the rack at a height that is comfortable for lifting and taking out your lawn mower. This will help reduce strain and lower the chance of drops.
3. Folding Lawn Mower Designs for Compact Storage

If you are low on space or enjoy smart lawn equipment, a folding lawn mower could be just what you need. These clever machines can fold down to about half their size. This makes it easy to store them in tight spots, under workbenches, or on shelves.
Folding lawn mowers are a good idea for small yards and for homeowners who want practical storage. Their compact design still provides a neat and efficient cut.
Before buying, think about the cutting width, height adjustments, and how easy it is to fold. This will help you choose the right mower for your lawn care needs.
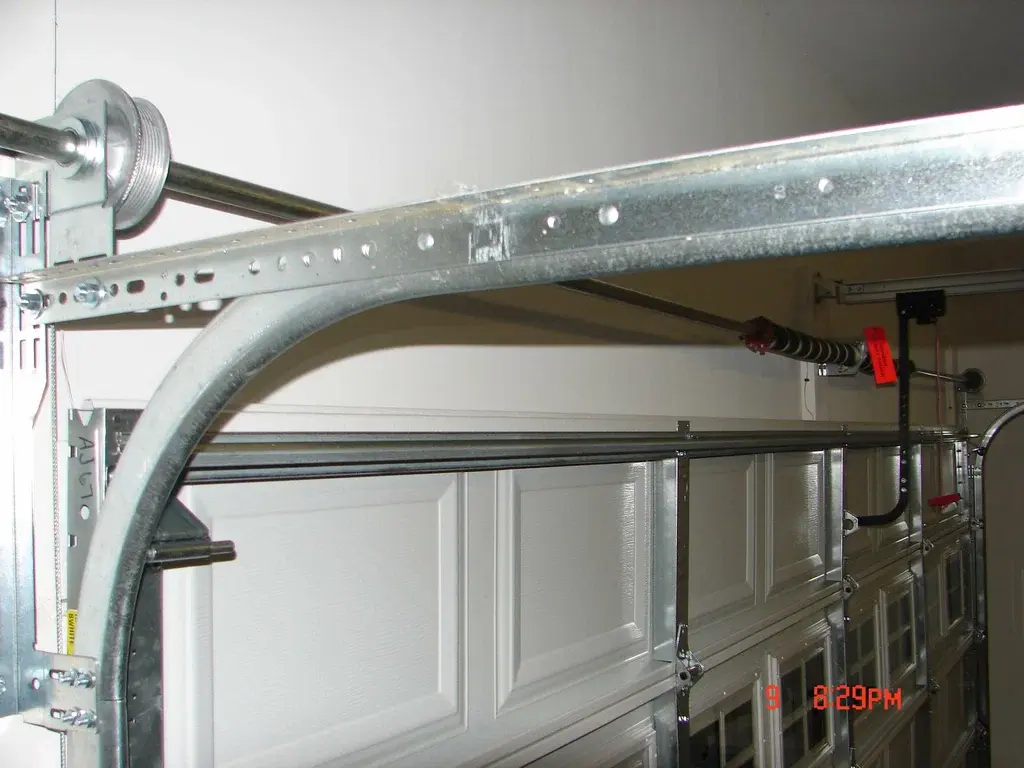
4. Ceiling Mounted Hoists for Bulky Mowers
For bigger and heavier mowers, look at a ceiling-mounted hoist system. This helps you save space in your garage. It uses strong pulleys and straps to lift your lawn mower safely off the ground.
Ceiling-mounted hoists are a smart option for lawn mower storage during the off-season, especially in winter. This method takes advantage of the space above you, making your garage work better for you.
When picking a hoist system, focus on safety features. Look for locking mechanisms and weight limits. This will help you How To Store a Lawn Mower in the Garage and make lifting it easier.
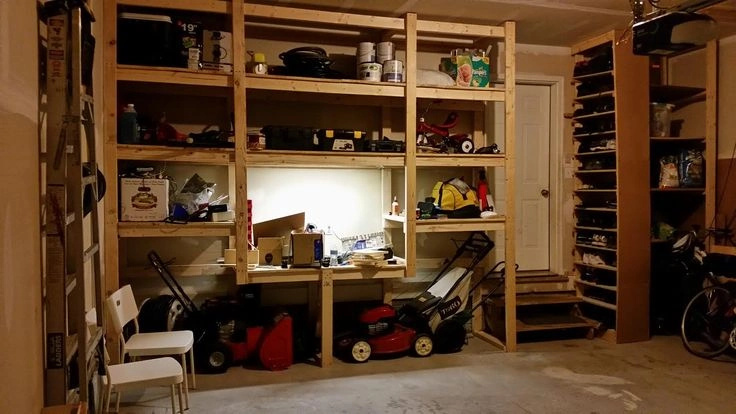
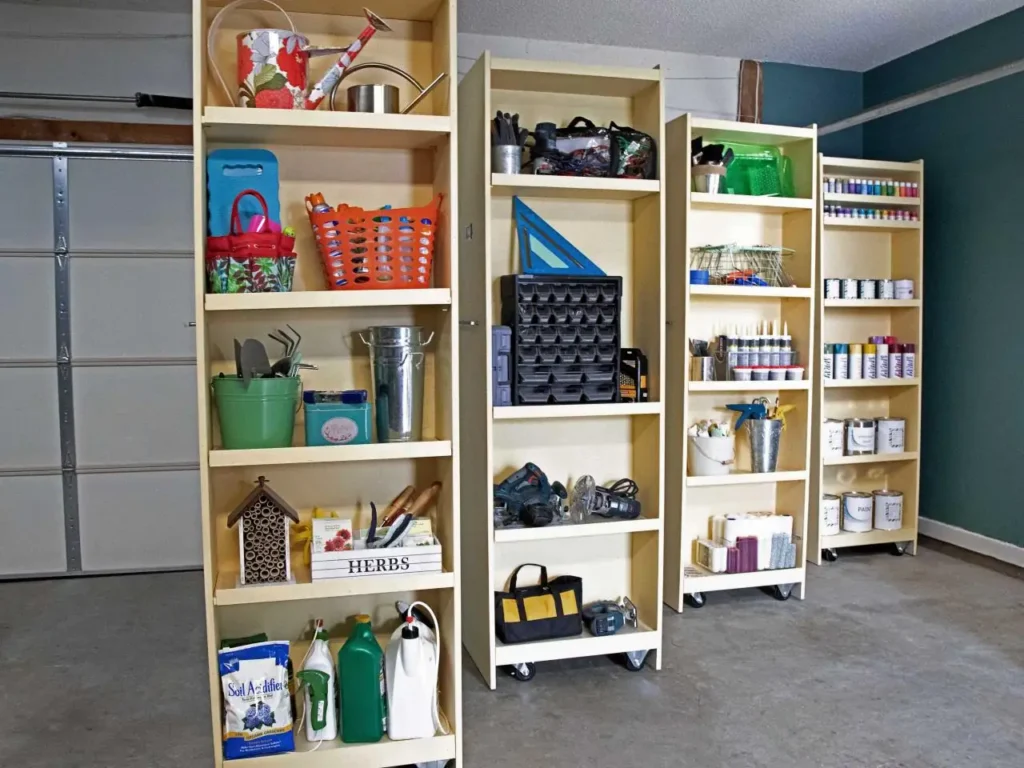
5. Corner Shelving Unit
Corner shelving units really help you use your garage floor space well, especially for lawn mower storage. They let you put your lawn equipment in the corners for easy access.
If you place your mower on a shelf, it will stay in a dry place, keeping it safe from moisture that could cause rust.
You might want to think about using waterproof materials or a waterproof cover to protect your mower during the off-season. This way, your mower will be ready for next spring.
6. Pulley Lift System
Make the most of ceiling storage using a pulley lift system that is made for heavier lawn equipment. This setup is very helpful if you have a riding mower or a bigger walk-behind mower. It easily lifts the equipment up, which keeps your floor space clear.
The pulley system attaches firmly to your garage ceiling, so it stays steady. Look for strong materials like heavy-duty steel cables and durable mounting hardware. These will help it last a long time.
Be sure to check the weight limits and carefully follow the manufacturer’s instructions when you install it. This will help keep you safe and ensure your How To Store a Lawn Mower in the Garage securely.
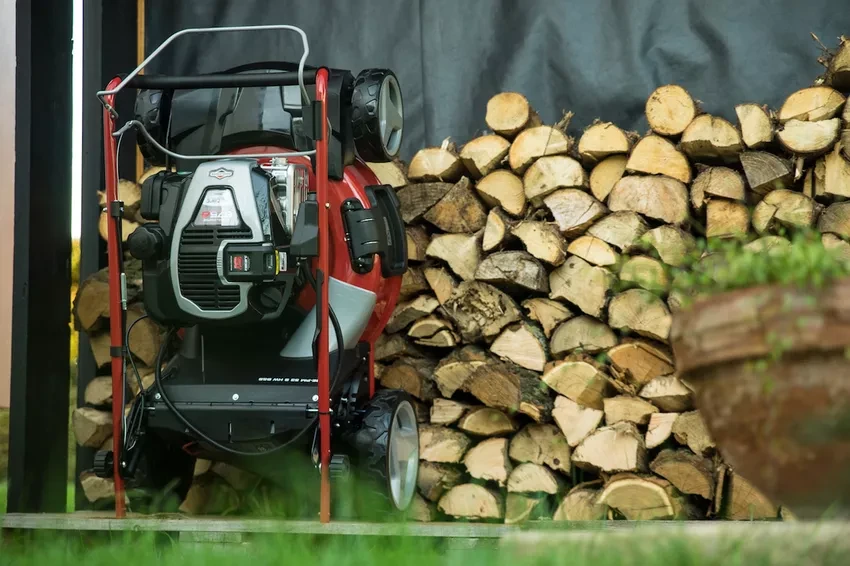
7. Waterproof Tarp
A waterproof tarp can be useful for storing your lawn mower outside for a short time. Choose a strong tarp that is resistant to UV rays and made from durable waterproof materials. This will help protect your mower from rain, sun, and debris.
Make sure there is enough air circulation under the tarp. This will stop moisture and mildew from forming. It’s best to raise your mower on a pallet or bricks to keep it off the ground and improve airflow.

When putting your tarp in place, use bungee cords or weights like bricks. This will stop it from blowing in the wind and keep your mower safe from the weather.
8. Lawn Mower Storage Tips
No matter how you store your lawn mower, it’s important to follow some basic storage tips. This helps prevent damage and makes sure it starts well next spring.
- Empty the fuel tank (or add stabilizer): Gas left in the tank during the off-season can break down, leading to engine issues. You can either run the engine until the tank is empty or add a fuel stabilizer.
- Clean thoroughly: Make sure to remove grass, mud, and debris from the mower deck, blades, and engine. Keeping it clean is key to avoiding rust and corrosion.
- Protect against moisture: Store a Lawn Mower in the Garage mower in a dry area, preferably off the ground. Moisture can cause rust, so limit its exposure.
By using these easy tips, your lawn mower will be prepared to handle any landscaping job when the warmer days come back.
9. Rolling Cart Storage
For easy access, think about getting a rolling cart made for lawn mowers. These strong carts usually come with a ramp. This makes loading and unloading easy. They are made from materials that can handle weather well.
A rolling cart turns your lawn mower shed into a mobile unit. You can simply wheel it out when you need it. After using the mower, you can tuck the cart back into storage with no heavy lifting!
Look for carts that have sturdy wheels and locking systems for extra stability. Some models also have built-in storage for tools. This helps you keep all your lawn care items organized in one spot.
10. DIY Wooden Ramp Storage
Feeling handy? A DIY wooden ramp is a great way to lift your lawn mower storage, quite literally! This project means building a strong ramp using pressure-treated lumber or plywood. You can store the mower on top of an existing platform or shelf.
Making a ramp is pretty simple and you don’t need advanced carpentry skills. Make sure the ramp is strong enough and stable for your lawn mower model.
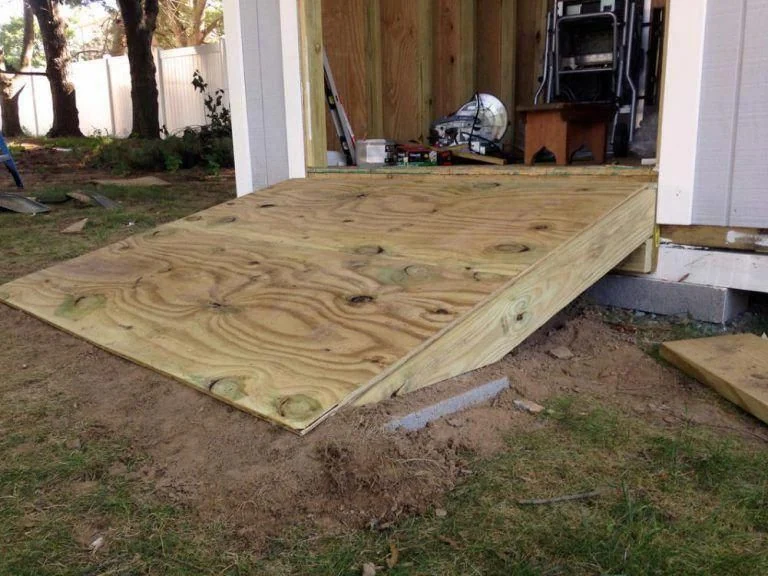
You should think about adding side rails or a toe board to the ramp. This will help keep you safe when you roll your mower up or down. This DIY project can reduce the chance of back strain and slips.
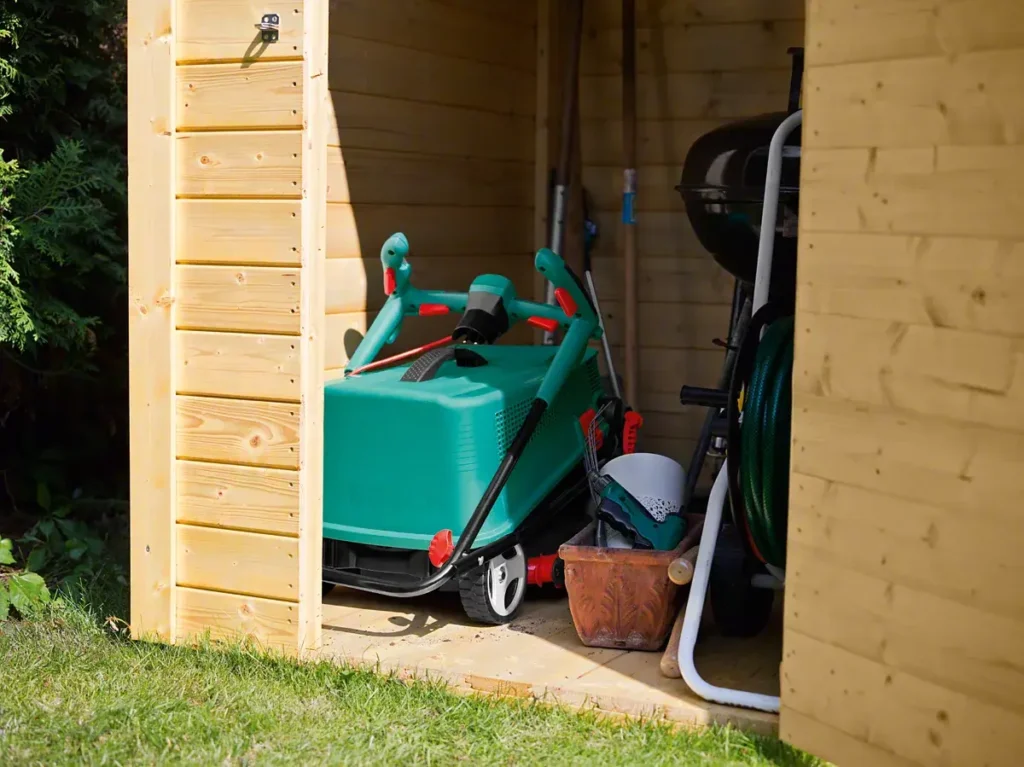
11. Garden Shed
For the best protection and a special space, think about getting a small garden shed just for your lawn mower and gardening tools. Garden sheds have lots of room for big mowers and keep them safe from the weather.

When picking a shed, look for materials that resist bad weather, have good airflow, and have strong locks. Place the shed on flat ground where you can easily access your lawn to make it convenient.
Use shelves, hooks, and tool racks inside the shed to keep things organized and clean. A neat garden shed makes sure you can grab what you need easily, so taking care of your lawn is simple.
12. Outdoor Storage Shed
An outdoor storage shed is a good idea for lawn mower storage. A shed made from weather-resistant materials like resin or metal can keep your mower safe from bad weather. It also helps clear some space in your garage.
Choose a size that lets you fit your mower and other garden tools easily. You could also add a workbench or potting bench to make it more useful.
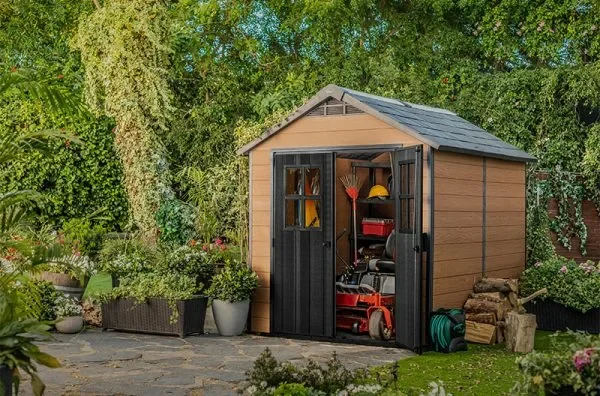
Make your outdoor storage shed even better by adding electricity, good lighting, and ventilation. These features create a comfy and organized space to get your gardening tasks done.
13. Wall Storage
Wall storage solutions can really help small garages or sheds with little floor space. Think about putting up strong hooks or a vertical rack system. This is a great way to store your lawn care tools, including smaller push mowers, vertically.
Doing this uses your wall space well. It also makes sure your tools are easy to see and reach. Keep similar items together for better organization. Label each hook or shelf so you can find what you need quickly.
Make sure any wall storage solution you pick can hold the weight of your tools and equipment safely. Use the right anchors and mounting hardware to keep everything secure.
Optimizing Your Garage Layout for Lawn Mower Storage
Optimizing your garage layout for lawn mower storage is important for making the most of your space, access, and safety. Here are some extra tips for a well-organized and helpful garage:
Use vertical storage solutions for lighter equipment. You can also use ceiling-mounted hoists for heavier items like riding mowers. Make clear pathways for easy movement of your mower. Remember to keep these paths well-lit and free of things that might cause you to trip.
14. Designated Parking Spots with Floor Markings
Even in a busy car garage, you can create a special parking spot for your lawn mower. Just use bright tape or paint to mark the area. Make sure there is enough space for your mower without blocking the vehicles.
These clear floor markings help prevent accidental bumps and scratches to both your car and your lawn mower. Clearly labeling the area shows its purpose and helps keep the garage more organized.
Besides marking a parking spot, think about using wall-mounted bike racks, overhead storage shelves, and stackable bins to use your floor space better. A tidy garage is safer and more efficient.
15. Adjustable Shelving Units for Versatile Storage Needs
Adjustable shelving units are great for garage storage. They provide flexible ways to store many items including Store a Lawn Mower in the Garage. Look for strong units with shelves you can move around. This lets you fit items of different sizes.
Put heavier items like bags of fertilizer or mulch, on the lower shelves. Save the higher shelves for lighter tools or seasonal decorations. This setup makes sure everything is stable and uses the vertical space well.
Use clear storage bins on the shelves for smaller lawn care items, like gardening gloves, pruning shears, and spare parts. Label each bin so you can find what you need quickly. This helps keep your space neat and organized.
Conclusion
Storing your lawn mower in the garage the right way helps save space and extends the life of your mower. You can choose from different options like vertical storage, wall-mounted racks, and creative hoists. It’s also important to think about protection from rust, the size of your storage, and maintenance to keep things easy.
Organizing your garage with clear parking spots and adjustable shelves can improve your storage space even more. By using these smart ideas, you can make sure your lawn mower is safe, organized, and easy to get to when you need it.
For more tips and help to How To Store a Lawn Mower in the Garage, check out our frequently asked questions section.
FAQ’S:
1. How do you protect a lawn mower from rust while stored in the garage?
To keep your lawn mower from getting rusty, store it in a dry place, and try to keep it off the garage floor.
Use a waterproof cover or a tarp to protect it from moisture and dust. Check it often for any signs of rust and fix any issues right away.
2. What are some space-saving tips for storing a lawn mower in the garage?
You can make the most of your garage by using vertical storage options. Think about adding wall-mounted racks or ceiling storage systems.
Also, folding lawn mower designs and corner shelving units can help you use small spaces better.
3. How to inspect the lawn mower in the garage?
Check the lawn mower regularly. Look at the fuel tank for any leaks or signs of corrosion.
Also, examine the blades for any damage or if they are dull. Make sure the storage area is dry and does not have too much humidity.
4. Where is the best place to keep a lawn mower?
The best place to store a lawn mower is in a dry, safe spot. This could be a garden shed, an outdoor storage shed, or under a covered pergola.
Make sure the area keeps the mower safe from direct sunlight, rain, and snow.
5. Is it better to store a lawn mower with or without gas?
It is a good idea to store a lawn mower without gas in the tank, especially if you’re keeping it for a long time.
This helps avoid fuel going bad and stops moisture from building up, which can cause rust and engine issues.
6. How to store an electric lawn mower?
Store electric lawn mowers in a dry place. It’s best to keep them off the ground. For robotic lawn mowers, make sure the charging station is safe from weather conditions.
7. How to store a lawn mower outside without a shed?
If you need to store your lawn mower outside without a shed, get a strong waterproof cover made from good waterproof materials. Put the mower on a raised platform.
Find a shaded area, such as the back of the house, for extra protection. You might also think about getting a special lawn mower shelter.
8. How to store a lawn mower in the garage in winter?
Prepare your mower for winter storage. You can either empty the fuel tank or use a stabilizer.
Make sure to clean the mower well to stop corrosion. Store it in a dry, insulated place in the garage. It’s best to keep it off the ground.
9. How to store a lawn mower in the garage DIY?
You can make your own storage solutions using plywood. Try building shelves or a ramp for easy storage.
You can also reuse old cabinets or pallets. Set aside a part of your garage or create a simple tool shed to help organize your space.